Dreaming of studying in the USA? Whether you envision yourself walking through the ivy-covered halls of an elite university or joining the vibrant campus life at a bustling state college, securing a student visa is your first step. This guide will take you through every step how to get a student visa for the USA, ensuring you’re well-prepared and confident as you embark on your academic journey in the United States.
Understanding the Types of Student Visas
Before discussing the application process, it’s essential to understand the types of student visas available:
- F-1 Visa (Academic Students): For those attending a university, college, high school, private elementary school, seminary, conservatory, or another academic institution, including a language training program.
- M-1 Visa (Vocational Students): For students attending vocational or other recognized non-academic institutions, other than a language training program.
- J-1 Visa (Exchange Visitors): For students participating in an exchange program, including high school and university study.
Step-by-Step Process to Obtain a Student Visa
1. Apply to a SEVP-Approved School
The first step in getting a student visa is to get accepted into a Student and Exchange Visitor Program (SEVP)-approved institution. You can find a list of these schools on the Department of Homeland Security’s website.
2. Receive Your Form I-20 or DS-2019
Once accepted, the school will send you either Form I-20 (for F-1 and M-1 visas) or Form DS-2019 (for J-1 visas). These forms are critical as they detail your study program and serve as proof of your acceptance.
3. Pay the SEVIS Fee
The Student and Exchange Visitor Information System i.e. SEVIS fee is mandatory. You can pay this fee online via the SEVIS I-901 Fee processing website. Make sure to keep the receipt as you will need it for your visa interview.
4. Complete the DS-160 Form
Next, you need to fill out the Online Nonimmigrant Visa Application (DS-160) form. This comprehensive form requires you to provide personal, educational, and travel information. Be sure to review all entries carefully before submitting.
5. Schedule Your Visa Interview
Once your DS-160 is complete, schedule an interview with the U.S Embassy or Consulate in your country. Wait times for interviews can vary, so it’s wise to schedule as early as possible.
6. Pay the Visa Application Fee
You are mandated to pay a non-refundable visa application fee before your interview. The fee can change depending on your country, so check the U.S. Embassy or Consulate website for specific details.
7. Prepare for Your Visa Interview
Preparation is vital to a successful visa interview. Here are some tips:
- Documents to Bring:
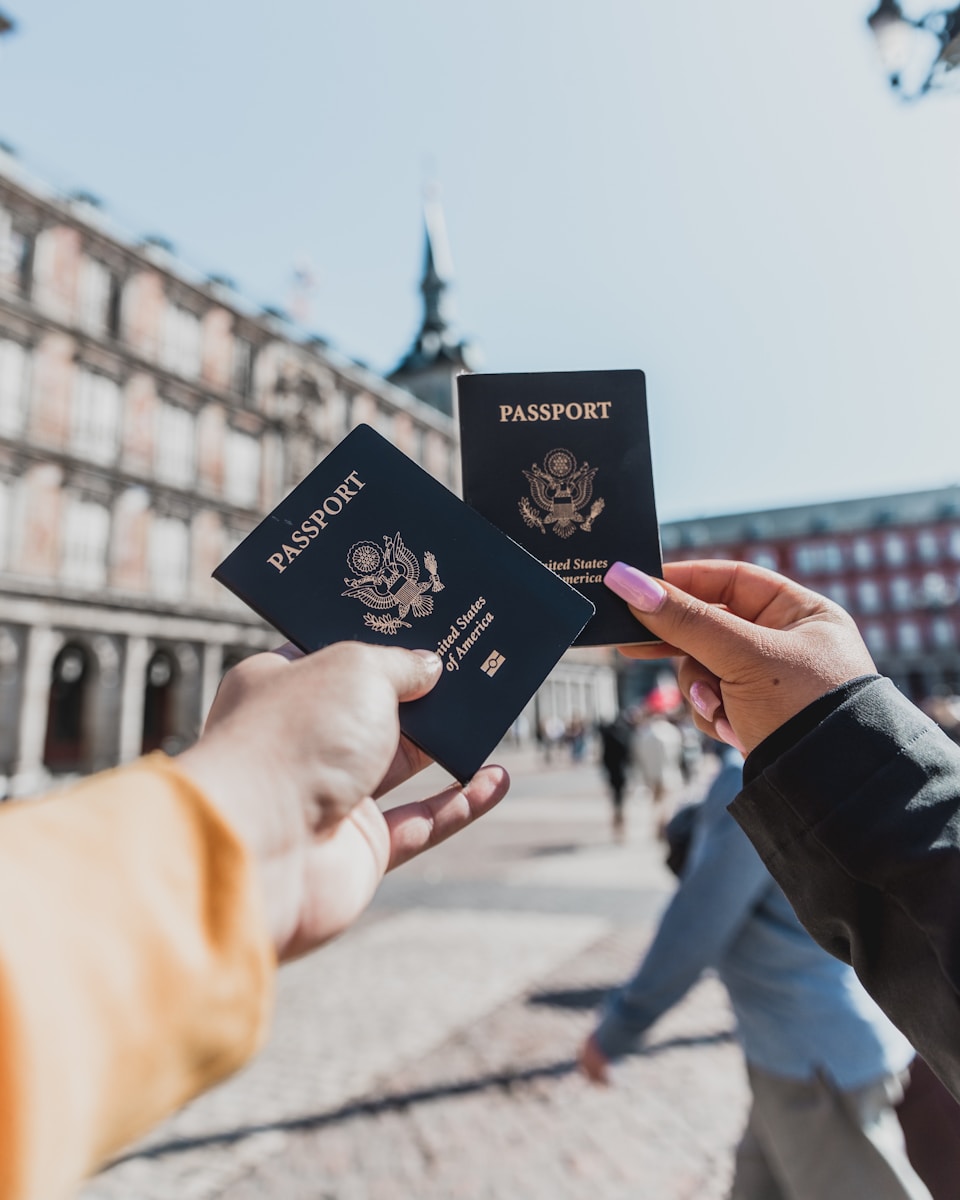
- A valid passport
- Form DS-160 confirmation page
- Visa application fee receipt
- Photo that meets U.S. visa requirements
- Form I-20 or DS-2019
- SEVIS fee receipt
- Proof of funds for living expenses and tuition
- Academic transcripts, diplomas, degrees, or certificates
- Standardized test scores required by your U.S. school
- Proof of ties to your home country (e.g., family, property, job offer)
- Attend Your Visa Interview
A consular officer will ask questions regarding your study plans, financial situation, and ties to your home country during the interview. Be honest and concise. The officer’s goal is to ensure that you are a legitimate student and that you intend to return to your home country after your studies.
- Receive Your Visa
When your visa is authorized, you will be told how and when your passport with the visa will be returned to you. If further administrative processing is needed, the consular officer will inform you.